Have you ever waved in a tank top… and felt like your arm kept jiggling after you stopped?
If you’re looking to tone your biceps and build stronger arms, you don’t need heavy weights or a fancy gym.
You just need a few simple moves, done with good form, on a regular basis.
This guide walks you through beginner-friendly biceps exercises that you can do at home or at the gym. They’re short, effective, and easy to follow. You’ll also learn how many reps to do, how often to train, and how to spot progress (hint: it’s not just about soreness).
Whether you’re brand new to arm workouts or just want to firm things up, these biceps exercises will help you lift better, reach higher, and carry groceries like a champ.
Why Training Biceps Matters for Women
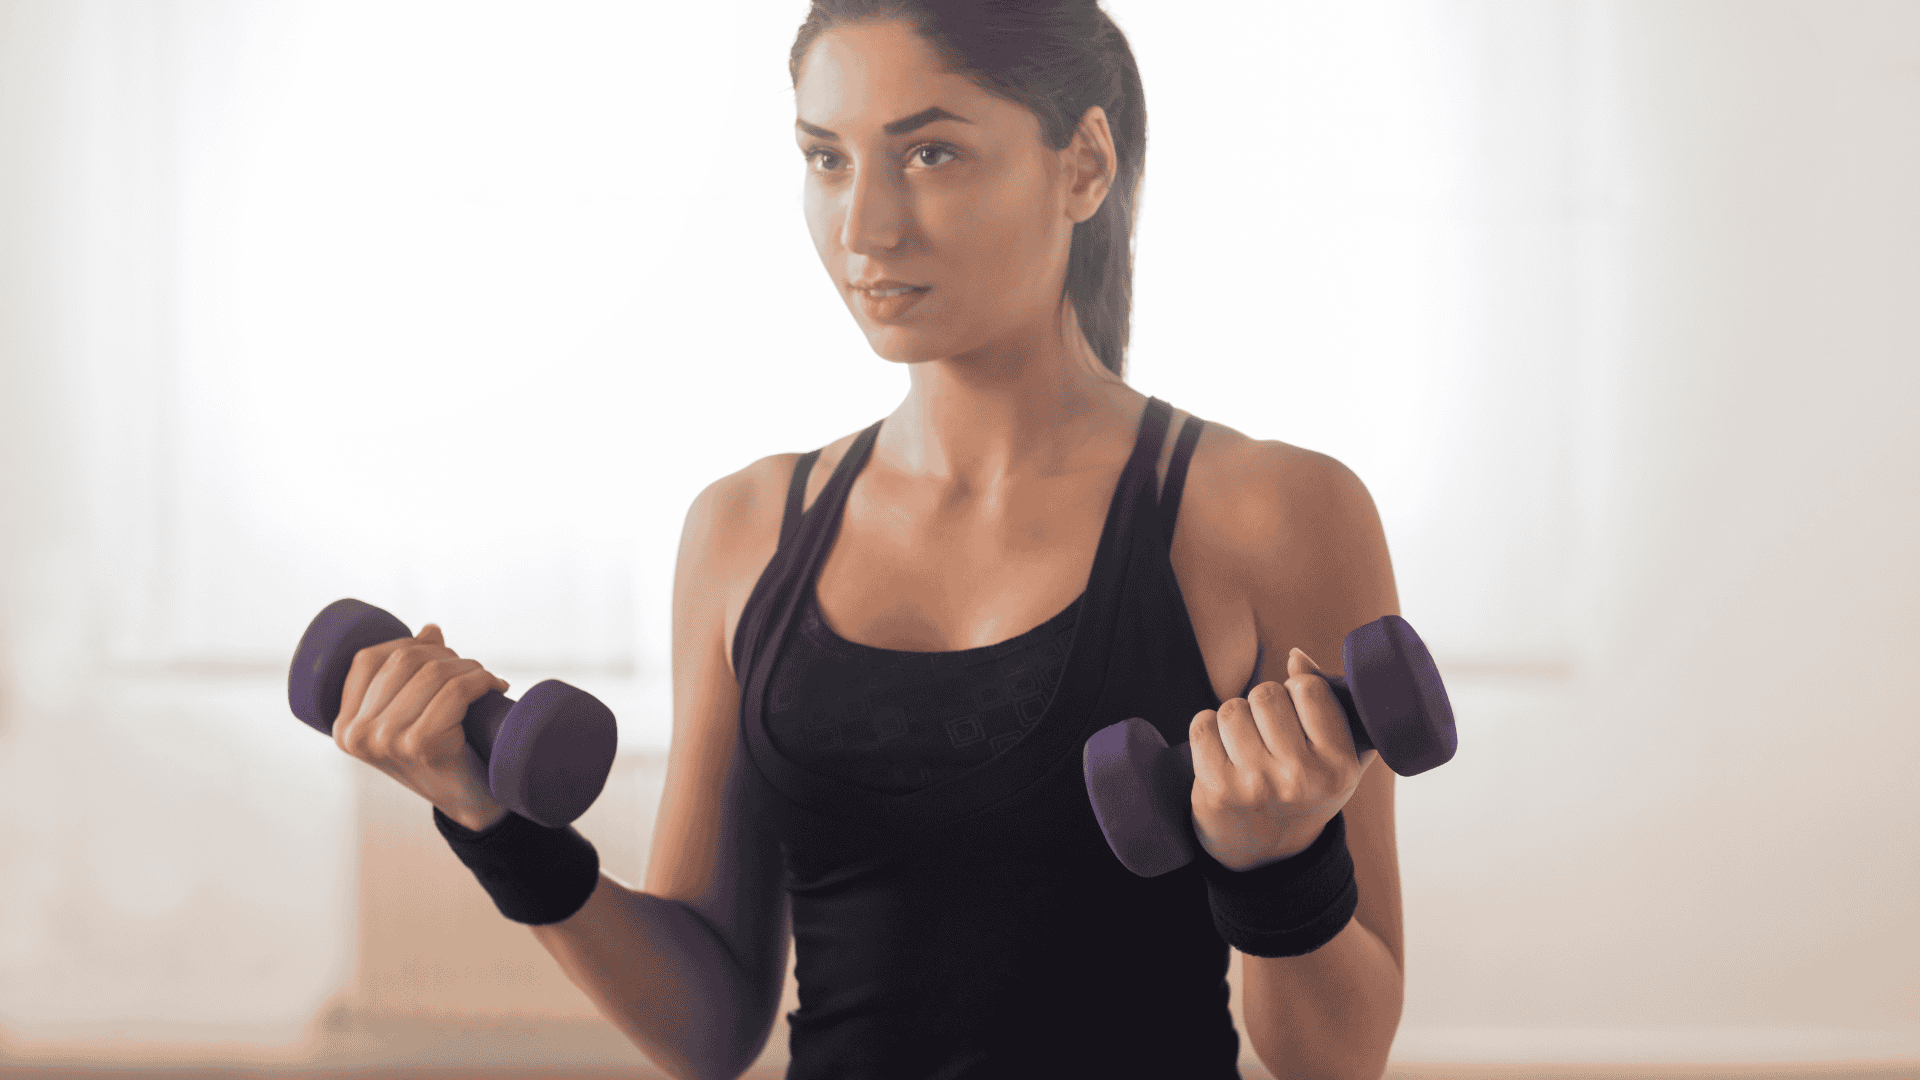
Some people still think arm workouts are just for guys.
But let’s clear that up.
Strong biceps help with way MORE than looks. They make everyday things easier, like carrying groceries, lifting your kids, or pulling open a heavy door without breaking a sweat (or a nail).
Training your biceps also helps your posture. When your upper body is stronger, you stand taller without slumping your shoulders or leaning forward. That means less tension in your neck and back, and more support for everything else you do.
Now here’s a common worry: “I don’t want bulky arms.” Well, you won’t get them.
Solid biceps workouts that are specifically for women focus on tone and strength, not size. Building visible bulk takes a whole lot of time, heavy weights, and eating way more than you probably do now.
Plus, your biceps aren’t working alone. They team up with your shoulders, back, and core during most upper-body moves. So when you train them, you’re building a stronger, MORE balanced body, not just nicer arms in a tank top.
Long story short?
Biceps training isn’t just about how you look. It’s about how you move, carry, and feel stronger doing life stuff.
How Biceps Actually Work?

Your biceps are the muscles on the front part of your upper arms. The full name is biceps brachii, but no one calls it that unless they’re in anatomy class.
Your biceps help you bend your elbows and turn your palms up. (two things you do more often than you think)
Ever pick up a bag?
Pull open a cabinet?
Or carry a laundry basket?
Yup, that’s your biceps at work.
Additionally, these muscles also help with grip. Like when you hold something tight (like weights, a gallon of milk, or your dog’s leash), your biceps kick in to help your hands and forearms stay strong.
And, here’s why it matters.
When you do effective bicep workouts, you’re not just working your arms. You’re also helping your shoulders stay stable, your back pull better, and your grip feel stronger in other workouts.
So even if you’re doing curls to shape your arms, you’re also supporting the rest of your upper body.
It’s a small muscle, but it shows up big when you train it right.
The 6 Best Biceps Exercises for Women
Now, for you to be able to build strong, toned arms, you don’t need a fancy gym setup. All you need is a pair of dumbbells or a resistance band and a little bit of space.
These six moves can be done at home or at the gym, and they target your biceps in different ways to help you feel stronger and move better.
You can mix and match, or pick 2–3 to add to your regular routine. Let’s break them down.
1. Bicep Curls (With Dumbbells or Bands)

What it works: Main part of your biceps (the front of your upper arm)
How to do it:
- Stand tall with a dumbbell in each hand, arms down at your sides, palms facing forward.
- Keep your elbows close to your body.
- Slowly curl the weights up toward your shoulders.
- Pause for a second at the top.
- Lower back down with control.
Tips: Don’t swing the weights. Keep your back still and focus on just your arms moving.
Make it easier: Use lighter weights or switch to a resistance band under your feet.
2. Hammer Curls
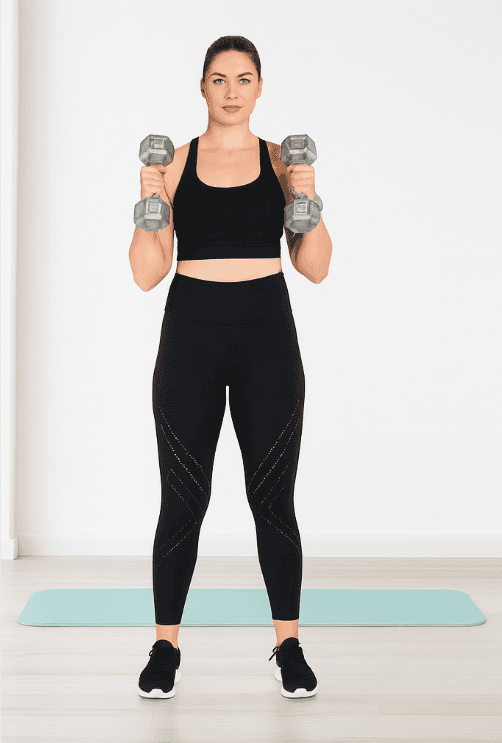
What it works: Biceps and forearms (better grip strength, too)
How to do it:
- Hold dumbbells at your sides with palms facing in (like you’re holding a hammer).
- Curl both hands up toward your shoulders.
- Pause at the top, then lower slowly.
Tips: Keep your wrists straight the whole time. No twisting.
Make it easier: Do one arm at a time if both at once feel too heavy.
3. Concentration Curls
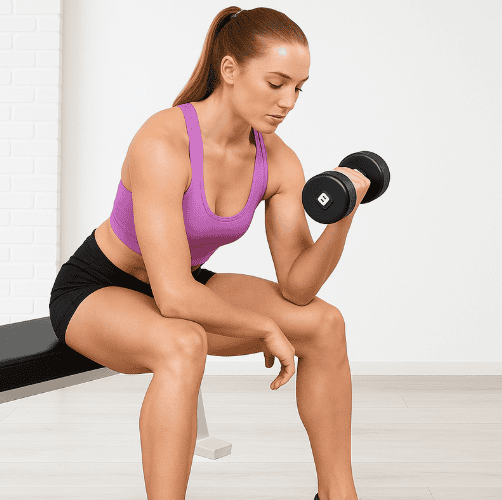
What it works: Isolates the biceps so they do all the work
How to do it:
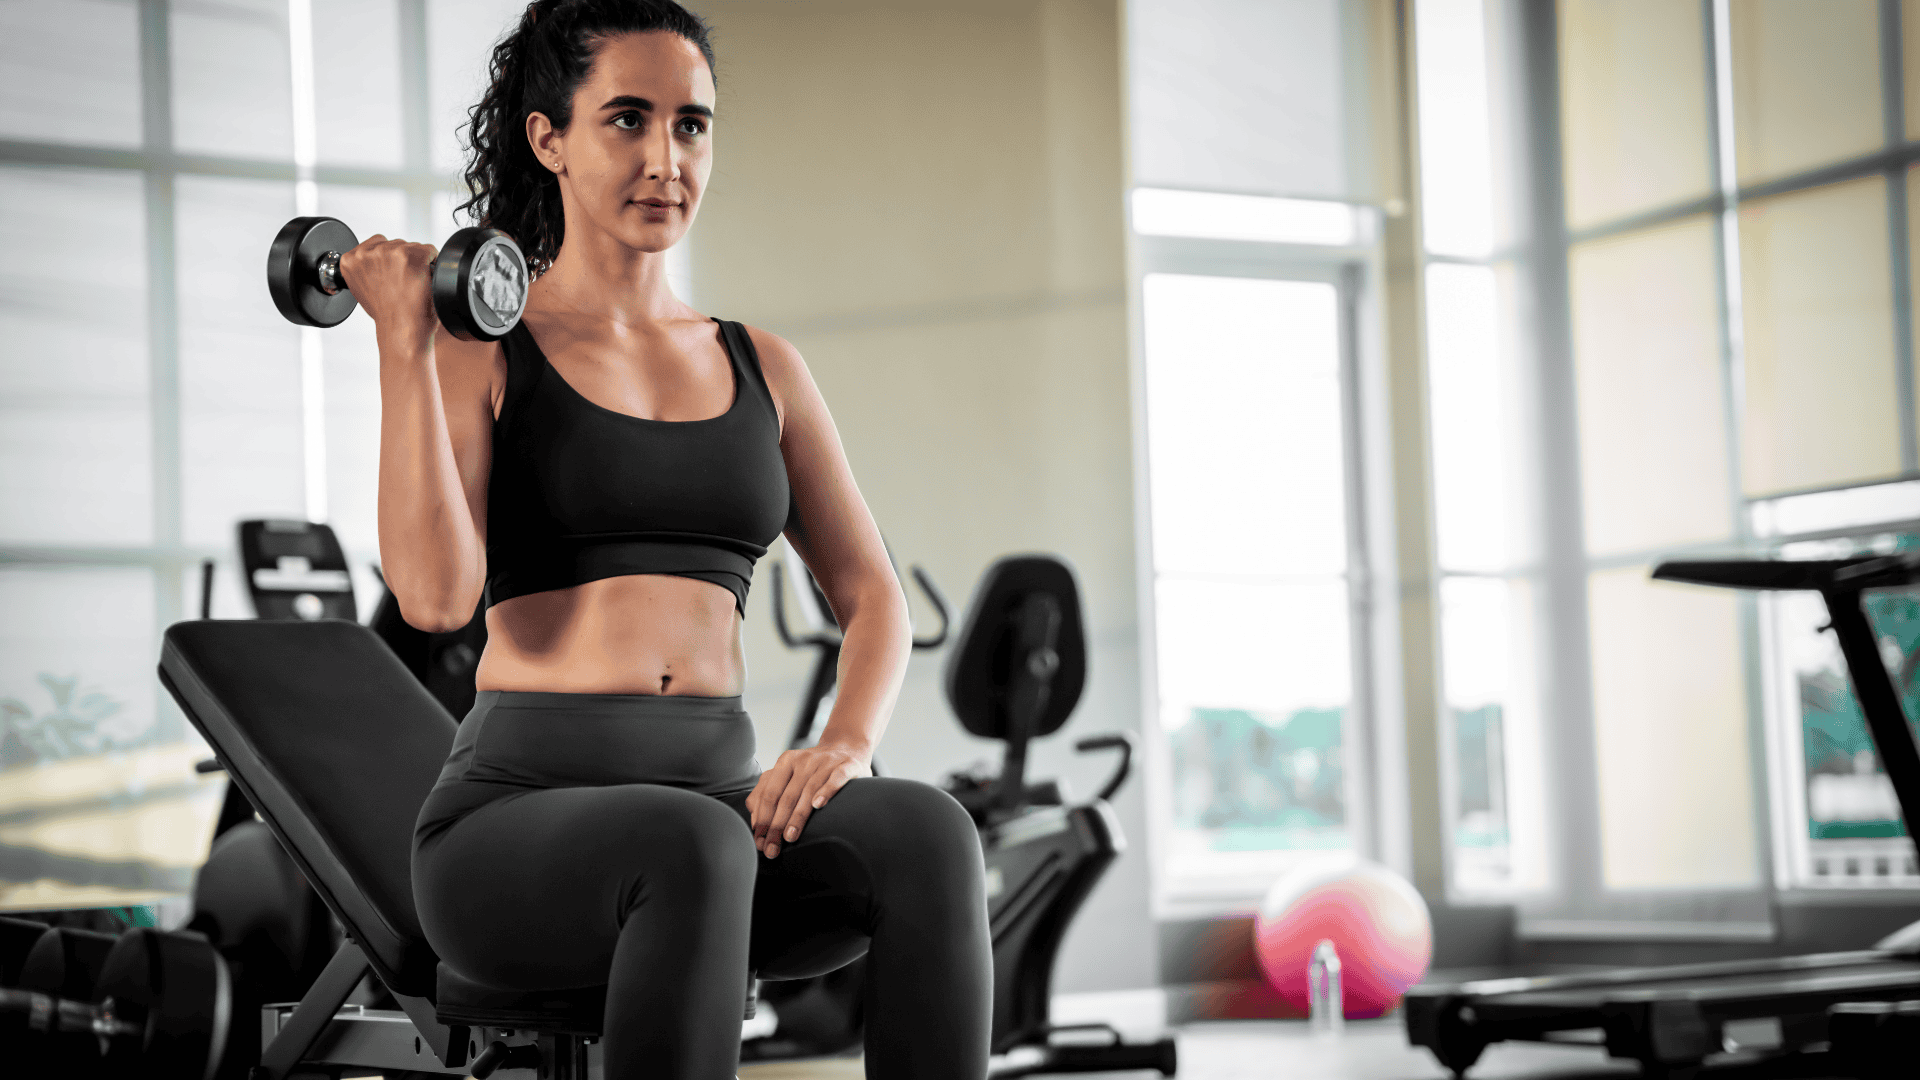
- Sit on a bench or sturdy chair, feet flat.
- Hold a dumbbell in one hand, elbow resting against your inner thigh.
- Curl the weight up, keeping your upper arm still.
- Slowly lower it back down.
- Switch sides after 8–12 reps.
Tips: Go slow and don’t let your elbow move. Let the bicep do the work.
Make it easier: Use a lighter dumbbell.
4. Curl to Press (Biceps + Shoulders)

What it works: Biceps, shoulders, and core
How to do it:
- Start with dumbbells at your sides, palms facing forward.
- Curl the weights up to shoulder height.
- Then press them straight overhead.
- Bring them back to shoulders, then lower down to the start.
Tips: Keep your belly tight so your back doesn’t arch when you press.
Make it easier: Do the curl only. Add the press once you’re more comfortable.
5. Resistance Band Biceps Pulse
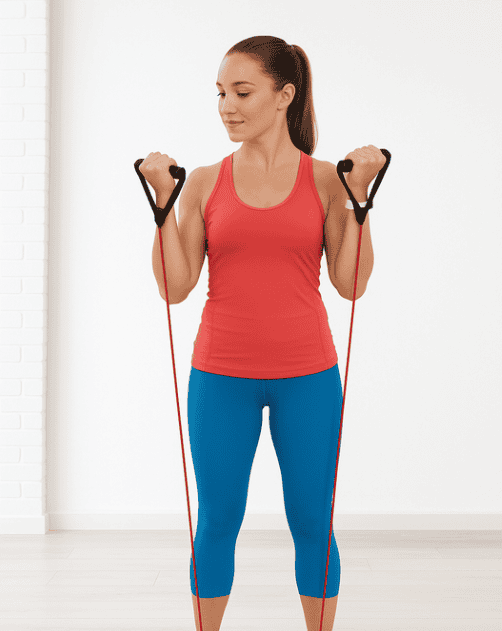
What it works: Burns out the biceps using small, fast moves
How to do it:
- Stand on a band with palms up, elbows bent halfway like you’re mid-curl.
- From that halfway spot, pulse the band up and down just a few inches.
- Keep it going for 20–30 seconds.
Tips: Stay in that middle range, don’t go all the way up or down.
Make it easier: Use a lighter resistance band.
6. Isometric Biceps Hold (Time Under Tension)
What it works: Endurance and control in your biceps
How to do it:
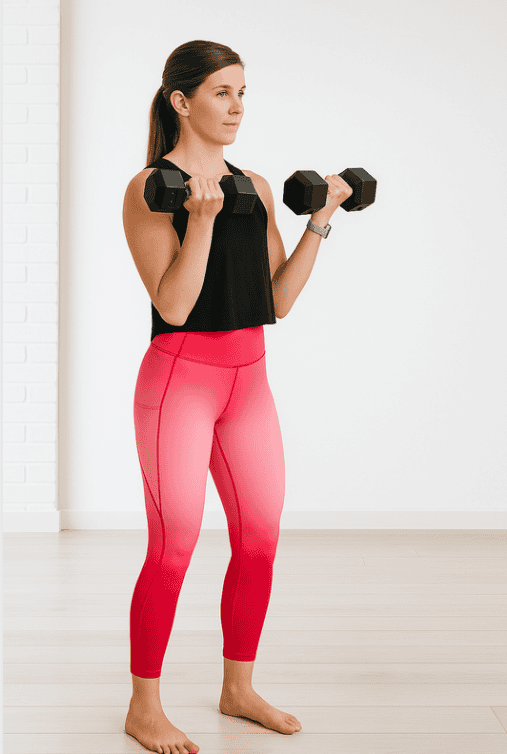
- Hold dumbbells or a band in curl position (elbows bent 90 degrees).
- Just stay there — hold the squeeze for 20–30 seconds.
- Keep your shoulders relaxed and arms still.
Tips: Breathe steady. Don’t shrug your shoulders.
Make it easier: Try holding for just 10–15 seconds and build up from there.
How to Structure a Biceps Workout
Now that you’ve got the moves, let’s talk about how to turn them into a great full workout plan. You don’t need to spend an hour just doing curls.
In fact, short and focused workouts are the way to go.
Start with the basics: 3 sets of 10–12 reps
This is a solid range that helps build strength and shape.
If the last few reps feel tough but doable, you’re in the right zone. If you finished all 12 easily, try using a slightly heavier weight next time.
Train your biceps 1–2 times per week
You don’t have to work them every day to see progress.
In fact, once or twice a week is plenty, especially if you’re doing other upper-body work. Biceps are small muscles, and they get tired fast. Giving them rest helps them grow stronger.
Rest about 30 to 60 seconds between sets
If your arms feel shaky, take the full minute.
But if you’re feeling good, 30 seconds works fine. It’s just enough time to breathe and reset before the next round.
Pair biceps with back or a full upper-body day
Your biceps already work when you do pulling moves like rows or lat pulldowns. So it makes sense to train them on the same day. For example:
- Back + Biceps Day: Start with rows or pulldowns, then finish with curls
- Upper Body Day: Mix in push and pull moves (like push-ups, presses, rows, and curls)
You can also tag a few biceps sets onto a full-body workout if that fits your schedule better.
Sample Biceps Workout Format
Pick 3 of the biceps moves from the last section. Then follow this plan:
- Do 3 sets of 10–12 reps for each move
- Rest 30–60 seconds between sets
- Repeat 1–2 times a week
That’s it. Quick, clear, and done in about 20 minutes.
(And yes, you’ll feel the burn when you wash your hair later. That’s biceps progress.)
Biceps Workout Plan You Can Follow (2 Levels)
If you’re wondering how to put all the moves together, this section has you covered.
Whether you got access to machines and dumbbells for your workout, or you’re just starting out at home, there’s a plan here that fits.
Both versions include a warm-up, a short but focused workout, and a cool-down to wrap it up right.
Level 1: Beginner Home Plan (No Equipment or Light Dumbbells)
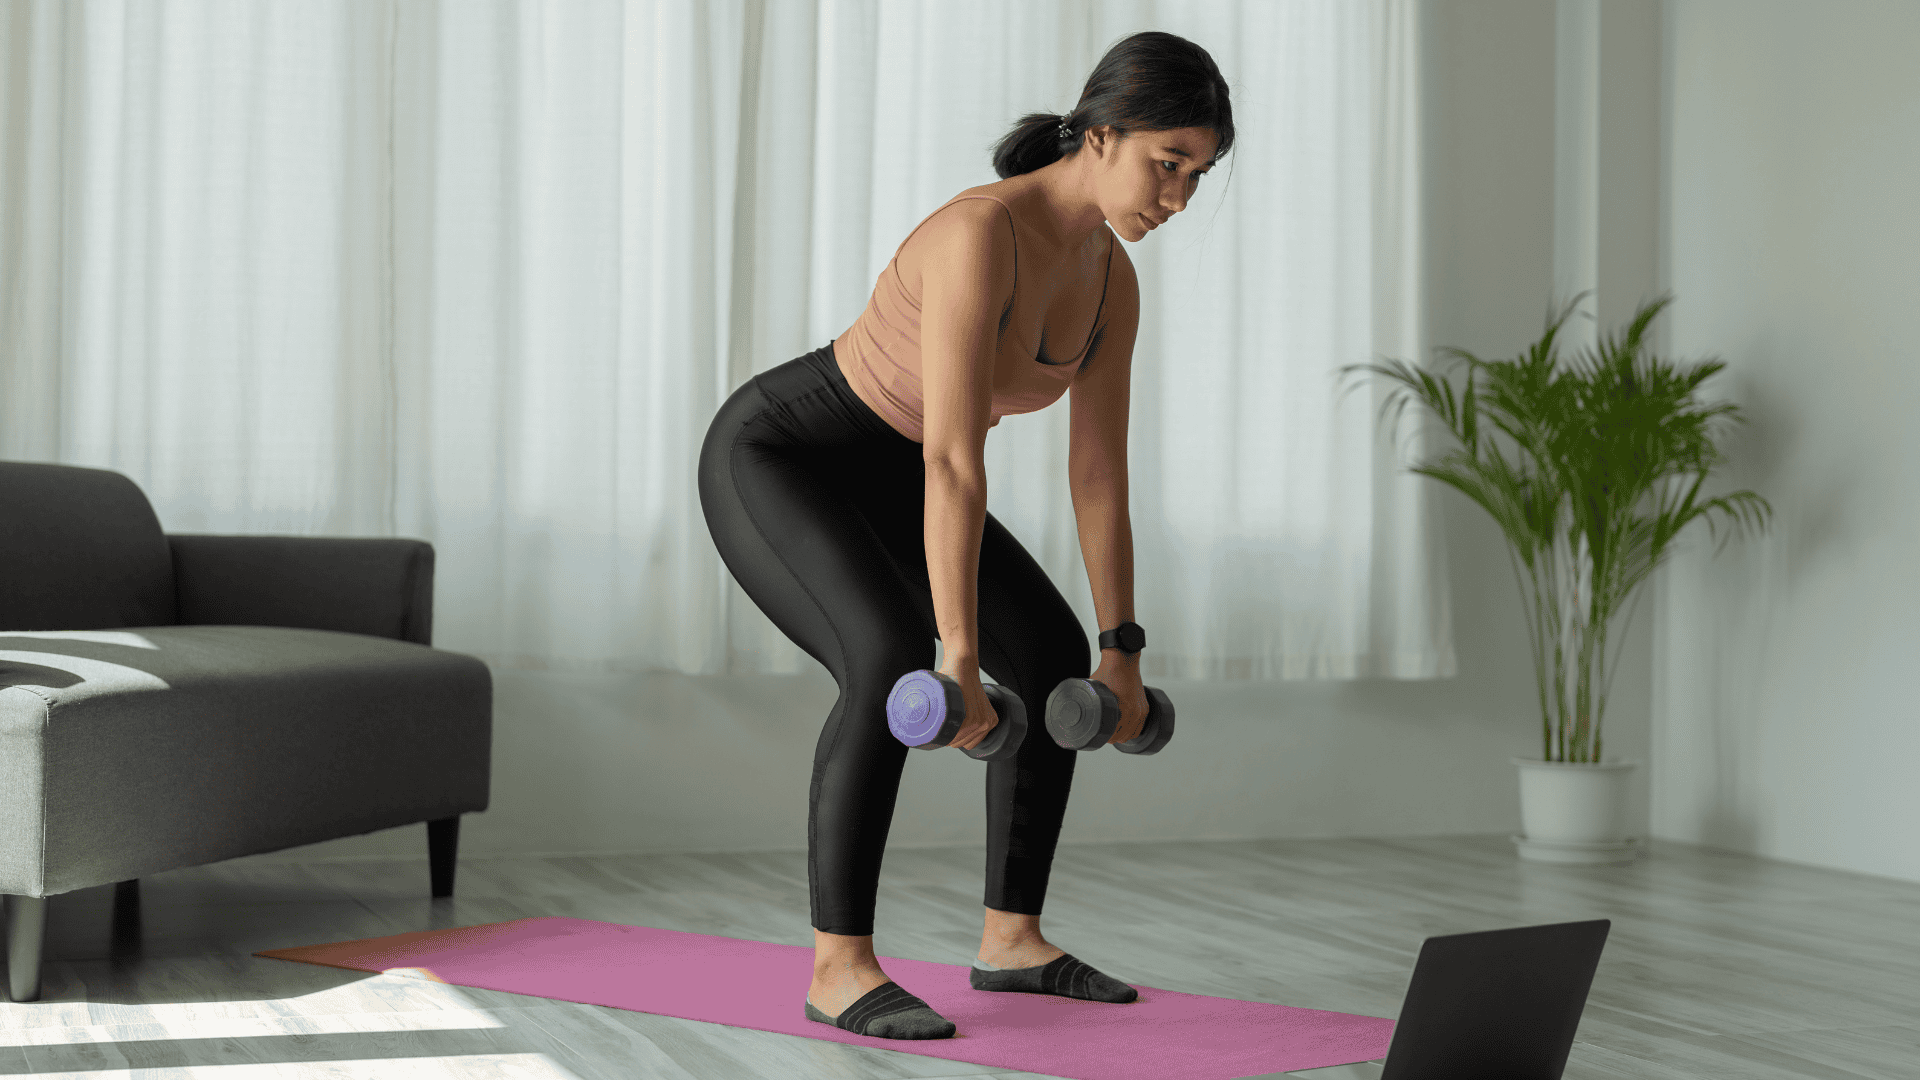
Time Needed: 20–25 minutes
Warm-Up (3–5 minutes)
Get your arms and shoulders ready with a few simple moves:
- Arm circles – 30 seconds forward, 30 seconds backward
- Shoulder rolls – 10 forward, 10 backward
- Air curls – Pretend to curl light weights, slow and controlled, for 30–60 seconds
Workout
Do each move for 10–12 reps. Repeat the full list 2–3 times.
- Bicep curls (with light dumbbells or water bottles)
- Resistance band pulses (or towel pull-aparts if no band)
- Hammer curls
- Isometric biceps hold (hold a “curl” halfway up for 20–30 seconds)
Rest: 30–60 seconds between sets.
Cool-Down (2–3 minutes)
To avoid soreness after workout, make sure to stretch gently before you start.
- Biceps wall stretch – Hold for 20–30 seconds each side
- Shoulder stretch across the chest – 30 seconds per arm
- Shake out your arms and breathe slowly
Level 2: Gym-Friendly Plan (Dumbbells + Machines)
Time Needed: 30–35 minutes
Warm-Up (5 minutes)
Do these to wake up your muscles and improve range of motion:
- 3 minutes treadmill walk or light bike
- Shoulder rolls – 10 each direction
- Light curls with no weight – 1 set of 12
Workout
Do 3 sets of 10–12 reps for each move.
- Dumbbell bicep curls
- Hammer curls
- Concentration curls
- Cable biceps curls or machine curls
- Curl to press (works shoulders too)
Rest: 45–60 seconds between sets.
Cool-Down (3–5 minutes)
Give your arms some care after the work:
- Biceps stretch on a wall or doorway – 30 seconds each side
- Wrist and forearm stretch – 30 seconds per arm
- Slow breathing and arm shake-out
You can follow either of these two plans once or twice a week, depending on your schedule.
Just pick the version that fits your setup and your current level. Then stick with it.
4 Tips to Avoid Common Mistakes
If you’ve ever done bicep curls and thought, “Wait… why do I feel this more in my shoulders or back?”, you’re not alone. But don’t worry. Because with a few small fixes, you can make every rep count where it should.
Let’s walk through the most common mistakes and how to avoid them:
1. Swinging or Rushing Through Curls
It might be tempting to move fast, especially when you’re using momentum to finish the set. However, swinging takes the work away from your biceps.
Instead of helping, it cheats the muscle you’re trying to build.
To fix it: Slow down. Keep your elbows close to your body, and move only your forearms. The curl should take about 2 seconds up and 2 seconds down. (Yes, that slow. Trust me, it works.)
2. Using Weights That Are Too Heavy
Going too heavy too soon can mess with your form. You might lean back, shrug your shoulders, or twist your wrists, all of which take the focus off your biceps and can lead to injury.
To address it: Pick a weight that lets you do 10–12 reps with control. If your form starts breaking down before that, go lighter. Your muscles won’t grow faster by rushing; they grow by working right.
3. Not Controlling the Movement
If you let the weight drop quickly after the curl, you’re skipping half the work. The lowering part of the curl (called the eccentric) is just as important as the lift.
To fix it: Lower the weight slowly, with control. Think, you’re resisting gravity, not giving in to it. Your biceps will feel the difference and that’s a good thing.
4. Skipping Full Range of Motion
Half-reps don’t give you full results. If you’re only lifting the weight partway or not lowering it fully, your biceps aren’t going through the full stretch and squeeze they need to grow stronger.
To address it: Start each curl with your arms fully extended and finish with a full squeeze at the top. Then return all the way down before starting the next rep.
Don’t shortchange yourself.
Form First, Then Progress
Think of biceps training like learning good handwriting. It’s not about speed or even how hard you press the pen to the paper, it’s about control and flow.
Once your form feels smooth and steady, then you can start adding weight or new variations.
When your reps are clean, you’ll feel the burn in all the right places. That’s how you know it’s working.
But, How Can You Tell That It’s Working?
Waiting for the number on the scale to change can feel slow and frustrating. BUT, there are other ways to see progress. And honestly, they often show up faster.
Here are some telltale signs that your biceps workouts are paying off:
1. You Feel Stronger in Daily Tasks
Opening jars, carrying grocery bags, and lifting your backpack, those little things start to feel easier.
That’s your biceps showing up for you outside the workout.
2. You See More Arm Definition
No, you won’t wake up with superhero arms overnight. But over time, you might notice more shape in your upper arms, especially when you flex or catch your reflection.
And that tone that you’re seeing? It’s muscle, and it’s progress.
3. Your Posture and Grip Feel Better
Biceps work supports more than just curls. It helps your shoulders stay upright and your grip stay strong.
So if you’re sitting taller or gripping weights, bags, or even your steering wheel with more ease, your arms are getting much better.
4. Upper-Body Workouts Don’t Feel as Tiring
Remember when holding a plank or doing push-ups used to wear you out in seconds?
If those same moves now feel more doable, your arm and shoulder strength is improving, and that includes your biceps.
And One Last Thing…
Progress shows up in how you move and feel before it shows up in measurements. So pay attention to the wins that don’t involve a scale…
They matter just as much.
Now, You Can Start Making Your Arms Stronger
You don’t need heavy weights, hours at the gym, or super complicated moves to build strong biceps. What you do need is a simple plan, good form, and a little patience.
These biceps workouts are made to fit your life, whether you add this to your fat-burning home workout plan or just simple do it with light dumbbells or at the gym with machines.
The more often you train, the more you’ll notice small wins. Like carrying a full laundry basket without dropping it. Or feeling solid during push-ups.
(Or even flexing just a little in the mirror because… why not?)
The truth is, training your arms isn’t just about how they look. It’s about how they help you move, lift, and feel stronger in everyday life.
And that kind of strength sticks with YOU.
So go ahead, keep curling. Your arms are more capable than you think and now, you’ve got the plan to prove it. 💪
Take Your Arm Workouts Further

These 6 moves are a strong start, but the real progress comes when you follow a plan that keeps you consistent.
The Free Weekly Gym Workout Plan for Women gives you a clear guide that shows you how to build strength across your whole body — including arms.
It’s beginner-friendly, structured, and designed to help you feel more confident every time you step into the gym.
Frequently Asked Questions
1. How often should women train biceps?
You can train your biceps 1 to 2 times per week. That gives your muscles enough time to work and rest. You don’t need to do bicep curls every day. In fact, giving your arms time to recover helps them grow stronger.
2. Can I build arm strength without lifting heavy weights?
Yes, you can. It’s more about how you move than how heavy you go. Using lighter weights with good form and enough reps can still challenge your muscles. Resistance bands, slow reps, and even bodyweight moves help too. (No need to swing kettlebells like Thor to feel the burn.)
3. Can I tone my arms without going to the gym?
You sure can. Home workouts work as long as you stay consistent. Dumbbells, resistance bands, or even a backpack with books can do the trick. Focus on slow, controlled movements and give your muscles time to build up.
4. When will I start seeing results?
Most people start to feel stronger in about 2 to 3 weeks, especially during daily tasks. Visible changes, like more definition or better shape, usually show up within 4 to 6 weeks if you stick with it. So keep going, your body’s doing the work even if it’s quiet about it at first.
5. Do I need cardio to get arm definition?
Cardio helps with overall fat loss, which can help your muscles show more. But to actually build and shape your arms, you need strength training too. The combo of both is what gets you definition, not one or the other.


