Squats can be a little awkward, especially when you’re not sure where your feet should go, what your knees should do, or why your back suddenly feels weird halfway down.
However, once you learn the basics, squats become one of the most powerful (and honestly, satisfying) moves you can do for your body. They work your legs, core, and glutes all at once.
The only catch?
You have to do them right.
But don’t worry, because in this guide, I will walk you through 7 simple steps on how you can do a solid squat workout. Each one is clear, direct, and you can easily follow.
Mastering the Basics (Step-by-Step Squat Guide)
So, how do you actually squat without feeling off-balance, hurting your knees, or guessing your way through every rep?
Follow these 7 steps in order. Each one builds on the last—so if you’re just starting out, don’t skip around.
Start from the top and take your time. It’s the safest way to build good form that lasts.
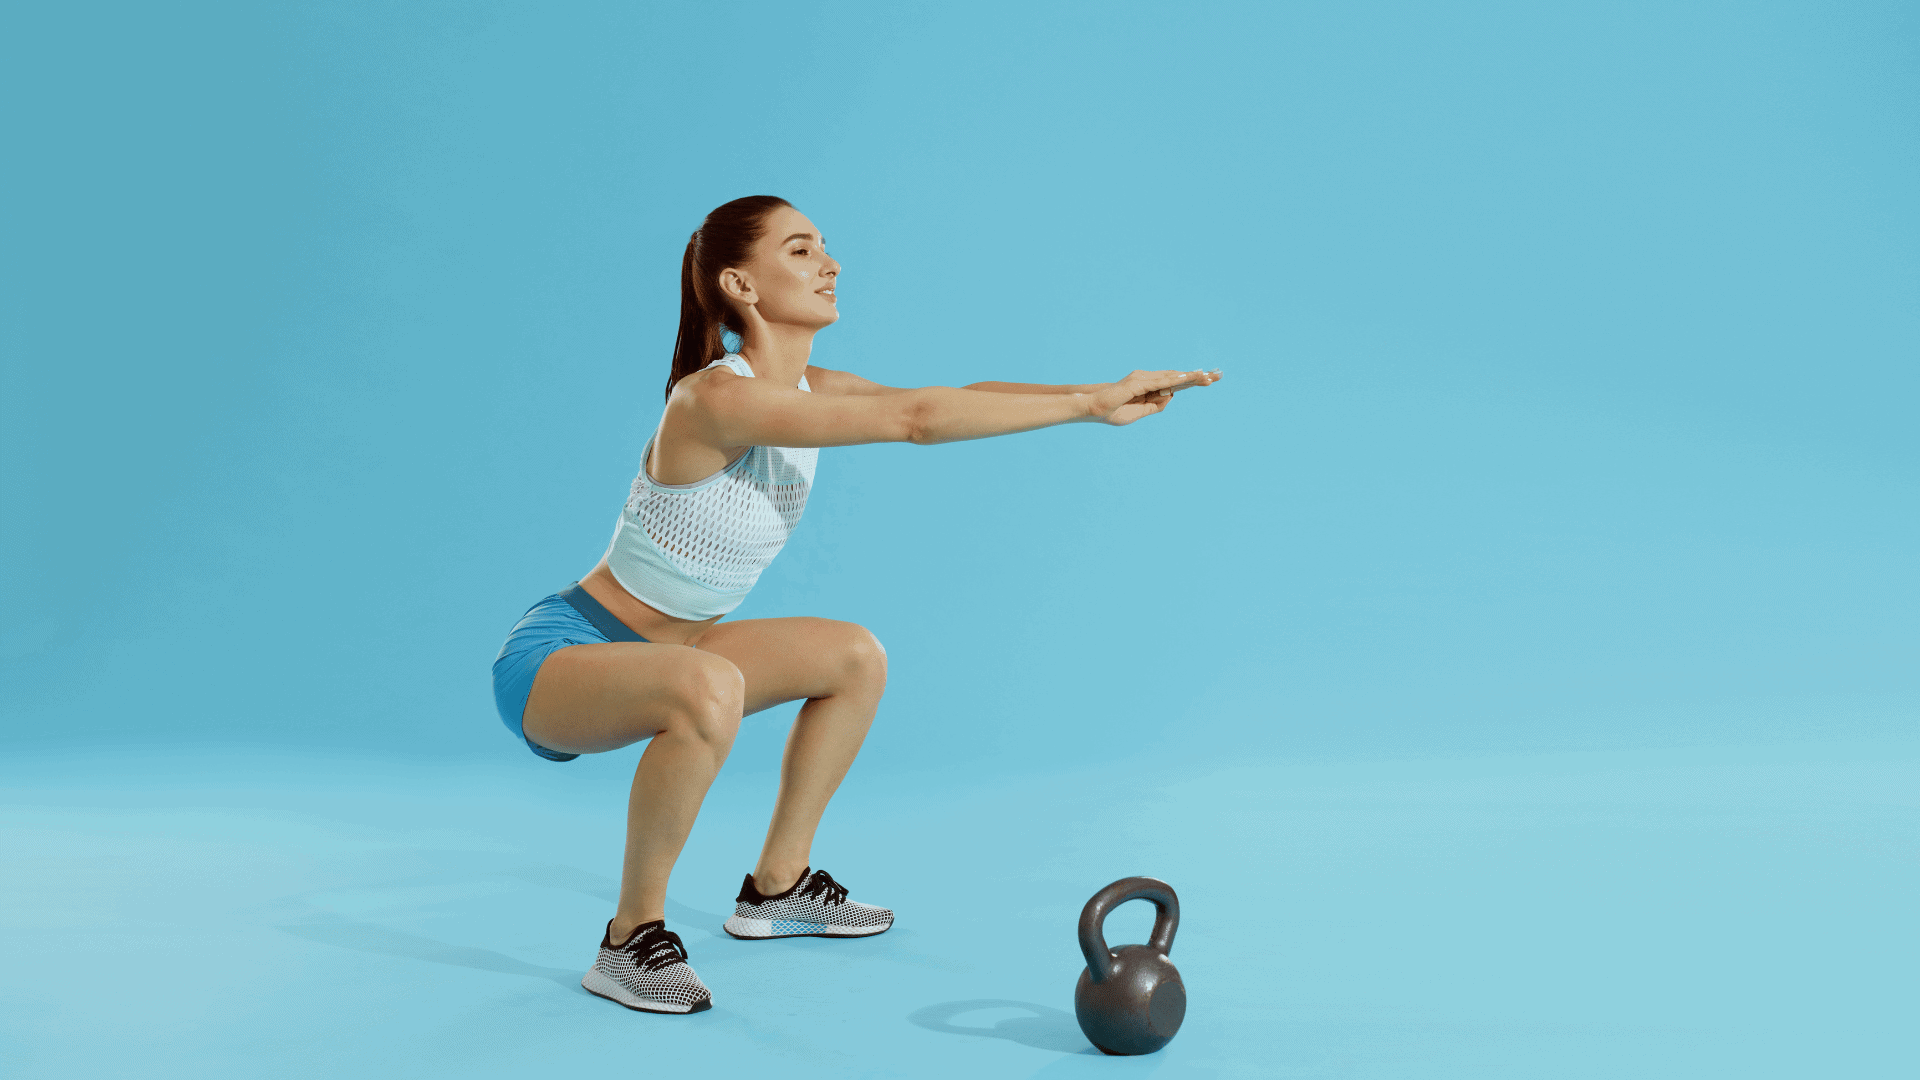
1. Dial In Your Starting Stance
Start with your feet just a little wider than hip-width. Turn your toes out slightly. (around 10 to 15 degrees) This gives your hips more space to move without feeling stuck.
Now check your balance. You should feel your weight spread evenly across your feet. Not just your heels. Not just your toes. Think about planting your whole foot like a tripod.
Got that?
Good. Let’s move on.
2. Brace Your Core (Think “Zip the Jeans”)
Before you bend anything, lock in your core. Pretend you’re zipping up a snug pair of jeans. That gentle squeeze through your middle helps protect your spine.
Then, take a breath in and hold that tension. Don’t puff your chest or arch your back. Stay tight and steady.
With your core braced, you’re ready to move from the hips.
3. Lead With the Hips, Not the Knees

Here’s where most people go wrong. They bend their knees first.
Don’t.
Instead, push your hips back like you’re reaching for a chair behind you. (That’s the first move)
Once your hips shift back, then let your knees bend naturally. This keeps your weight centered and takes pressure off your knees.
Hips first. Then knees. Remember that.
4. Track Knees Over Toes (No Cave-Ins)
Now that you’re lowering, keep an eye on your knees. They should follow the same direction as your toes. Not in. Not collapsed.
If they start drifting inward, press them out slightly. Imagine trying to spread the floor apart with your feet. That subtle push activates your glutes and keeps your knees where they should be.
Still having trouble?
A small resistance band around your thighs can help you feel it.
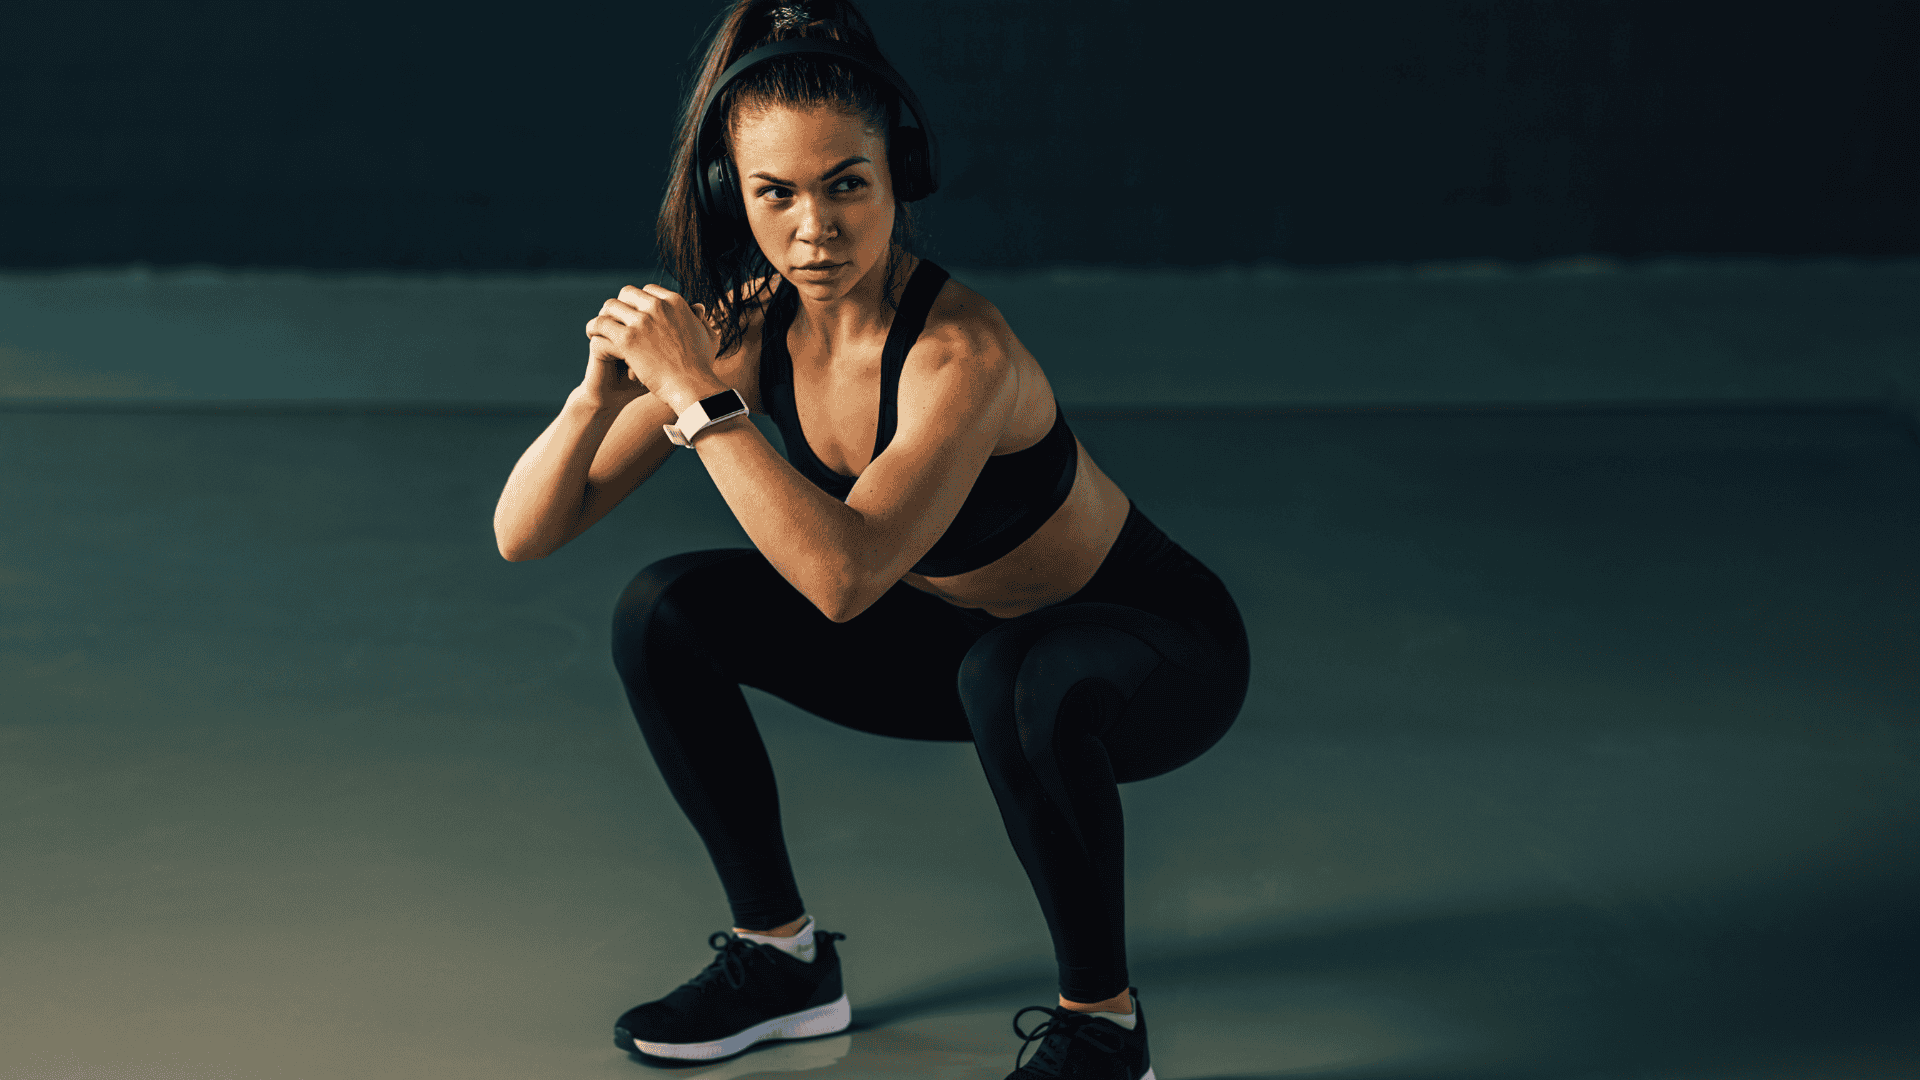
5. Find Your Depth Without Forcing It
Here’s the thing…
You don’t need to squat to the floor. Go as low as your body allows, without losing form.
If your heels start to lift, your chest drops, or your back rounds, that’s your current limit. And that’s fine. Your depth will improve with practice and mobility.
Aim for quality, not quantity.
A solid half squat beats a wobbly deep one every time.
6. Drive Through Heels and Mid-Foot to Stand Tall
You’ve made it to the bottom. Now it’s time to come back up.
Push through the middle of your feet. (your heels and mid-foot) Don’t rock forward or tip backward. Think about pressing the ground away from you.
Keep your chest tall and exhale as you rise. That breath out helps reset your core as you stand.
Controlled, strong, and smooth.
That’s the goal.
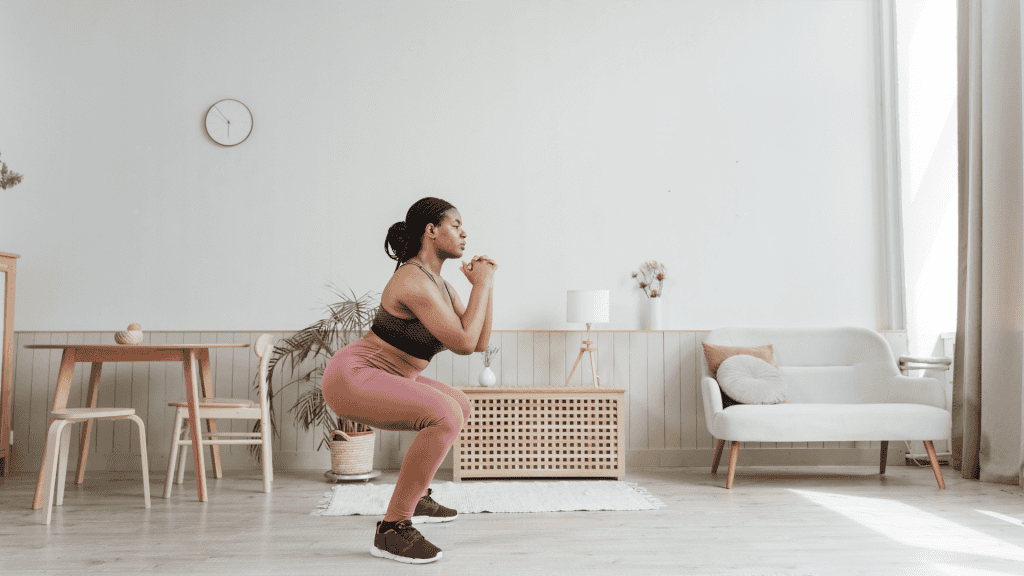
7. Finish Strong: Squeeze, Don’t Slam
At the top, squeeze your glutes gently. Don’t thrust your hips forward or lean back. You’re aiming for tall and stable. (not dramatic)
Your hips should stack over your ankles. That’s your reset point. From here, you’re ready for the next rep.
No need to rush. Re-set, re-focus, and go again when you’re ready.
Common Squat Mistakes to Avoid
Even with the right steps, it’s easy to slip into small habits that throw off your form.
These mistakes may not seem like a big deal at first, but over time, they can lead to discomfort. (or just make your squats less effective)
Here’s what to look out for, and how to fix each one quickly.
| Mistake | What It Looks Like | Quick Fix |
| Heels lifting off the floor | You feel pressure in your toes, and your balance shifts forward | Widen your stance slightly or try squatting with your heels on a weight plate until mobility improves |
| Rounded upper back | Your shoulders slump and your chest drops as you lower down | Keep your chest up and try a goblet squat (holding a weight in front helps with posture) |
| Neck craning up or down | You’re looking straight up or tucking your chin too far down | Keep your neck neutral—eyes forward, like you’re gently holding an orange under your chin |
| Knees caving inward | Your knees collapse toward each other as you squat | Push your knees out slightly and imagine spreading the floor apart with your feet |
| Hips rising faster than your chest | Your butt shoots up while your upper body lags behind | Slow down, reset your brace, and lead the movement with your chest as you come up |
Beginner-Friendly Modifications & Progressions
Not all squats need to look the same. If you’re still building strength, working on balance, or just want to feel more in control, these variations will help you get there.
Start with the first one. And once it feels solid, then you can move to the next.
Box or Chair Squat
If you’re unsure how low to go (or tend to fall forward) use a chair or box for feedback.
Here’s how:
- Stand in front of the chair like you would in a regular squat.
- Lower down slowly until your hips just tap the seat.
- Stand back up with control.
This helps you learn depth, build confidence, and stop the urge to drop too fast.
Goblet Squat
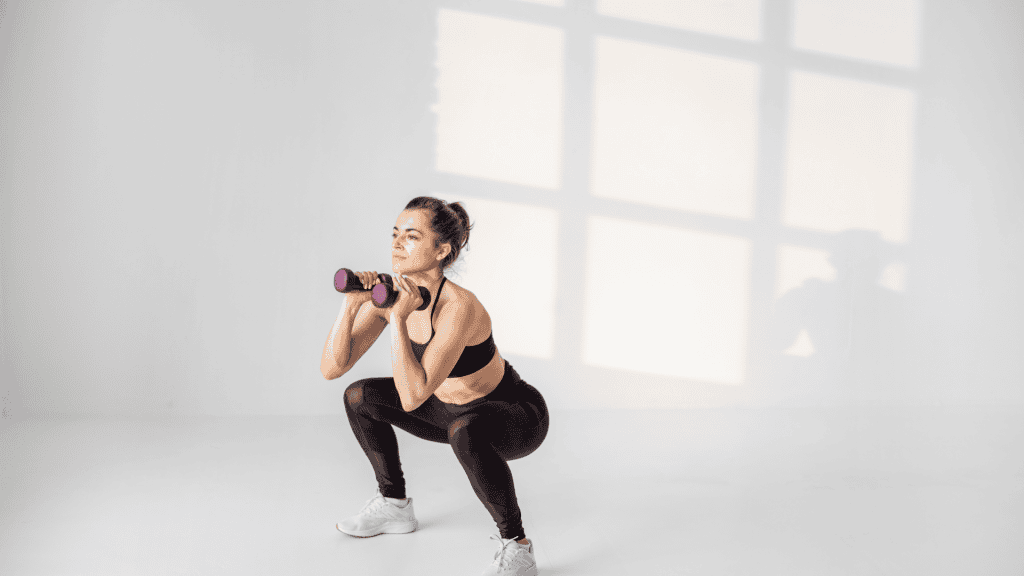
Once you’re steady with your bodyweight, try adding a bit of load. A goblet squat lets you do that while keeping your form clean.
Hold a dumbbell or kettlebell close to your chest with both hands. Elbows should point down.
This position keeps your torso upright and helps you stay balanced from top to bottom.
Mini-Band Squat

When your knees tend to cave in, this version teaches you how to keep them aligned.
Place a small resistance band just above your knees.
Then, squat as usual.
The band adds light tension, which encourages you to push your knees out and turn on your glutes. You’ll feel it right away.
There are plenty of ways to switch things up.
You can also try one of my personal favorite which is the Bulgarian split squat to work each leg separately, or a solid sumo squat to open your hips and hit different parts of your glutes.
5-Minute Daily Squat Routine
If you want to build strength, improve your form, or just make squatting feel more natural, a short daily routine can help.
Here’s a quick plan you can follow in just five minutes. No equipment needed.
Step 1: Warm Up (1 minute)
Wake up your hips, ankles, and core with a few dynamic moves:
- Hip circles – 30 seconds (15 each direction)
- Bodyweight good mornings – 30 seconds (hands behind your head, hinge at hips)
This gets everything moving before you squat.
Step 2: 3 Sets of 10 Bodyweight Squats (2 minutes)
Do 10 controlled reps at your normal pace.
Focus on:
- Bracing your core
- Pushing your hips back
- Tracking your knees over your toes
Take a short break (15–20 seconds) between each set.
Step 3: 1 Set of Tempo Squats (1 minute)
Slow it down. Try 5 reps with this timing:
- Lower for 3 seconds
- Hold at the bottom for 2 seconds
- Stand back up in 1 smooth push
This helps you build control and feel every part of the movement.
Step 4: Cool Down Stretch (1 minute)
Finish with a stretch that targets your hips and calves:
- Deep squat hold – 30 seconds (hold onto a doorframe or counter if needed)
- Standing calf stretch – 30 seconds per side
And you’re done. (Just five minutes) But if done consistently, it will make a HUGE difference.
Stronger Starts Here
Squats don’t have to be complicated. When you break them down, it’s all about a few key moves done in the right order:
- Start with a strong stance
- Brace your core
- Lead with your hips
- Keep your knees in line
- Find your depth
- Stand with control
- Reset and repeat
If one part feels off, slow down and check your steps. Even small fixes can make a big difference in how your body moves and feels.
Because strength isn’t just about how much you lift, it’s about how well you move through the basics.
And once you master those, everything else gets easier.
Easily Build Lower-Body Strength
 (62)")
You just learned how to squat with great form—now it’s time to keep that strength going all week.
Download our FREE Weekly Workout Schedule for short, bodyweight-based routines that target your whole body, including your legs and core.
It’s simple, flexible, and designed to fit your real-life schedule.
Frequently Asked Questions
1. How often should I squat each week?
If you’re just starting out, 2 to 3 times a week is a good place to begin. This gives your muscles time to recover between sessions while helping you build strength and confidence through repetition.
2. Why do my knees hurt when I squat?
Knee pain usually comes from poor form like letting your knees cave in, shifting your weight too far forward, or squatting too deep too soon. Slow down, check your stance, and don’t force range if your joints feel strained.
3. Is it okay if my knees go past my toes?
Yes, if it happens naturally and the rest of your form is solid. Your knees can move slightly past your toes depending on your body type. What matters most is keeping your heels down, your spine neutral, and your knees tracking with your toes.
4. Do squats make legs bulky?
Not unless you’re lifting very heavy weights over a long period of time. For most people, especially beginners, bodyweight and light squats help build strength, not bulk. They can actually make your legs feel more toned and balanced.
5. What should I do if I lose balance during squats?
Try using a sturdy chair or holding onto a countertop for support. You can also widen your stance slightly or slow the movement down. Balance improves over time, so don’t rush, just stay grounded and build control one rep at a time.


