Finding time to exercise isn’t always easy. Between work, family, and daily errands, long workouts at the gym can feel out of reach. That’s why jump rope is such a smart option.
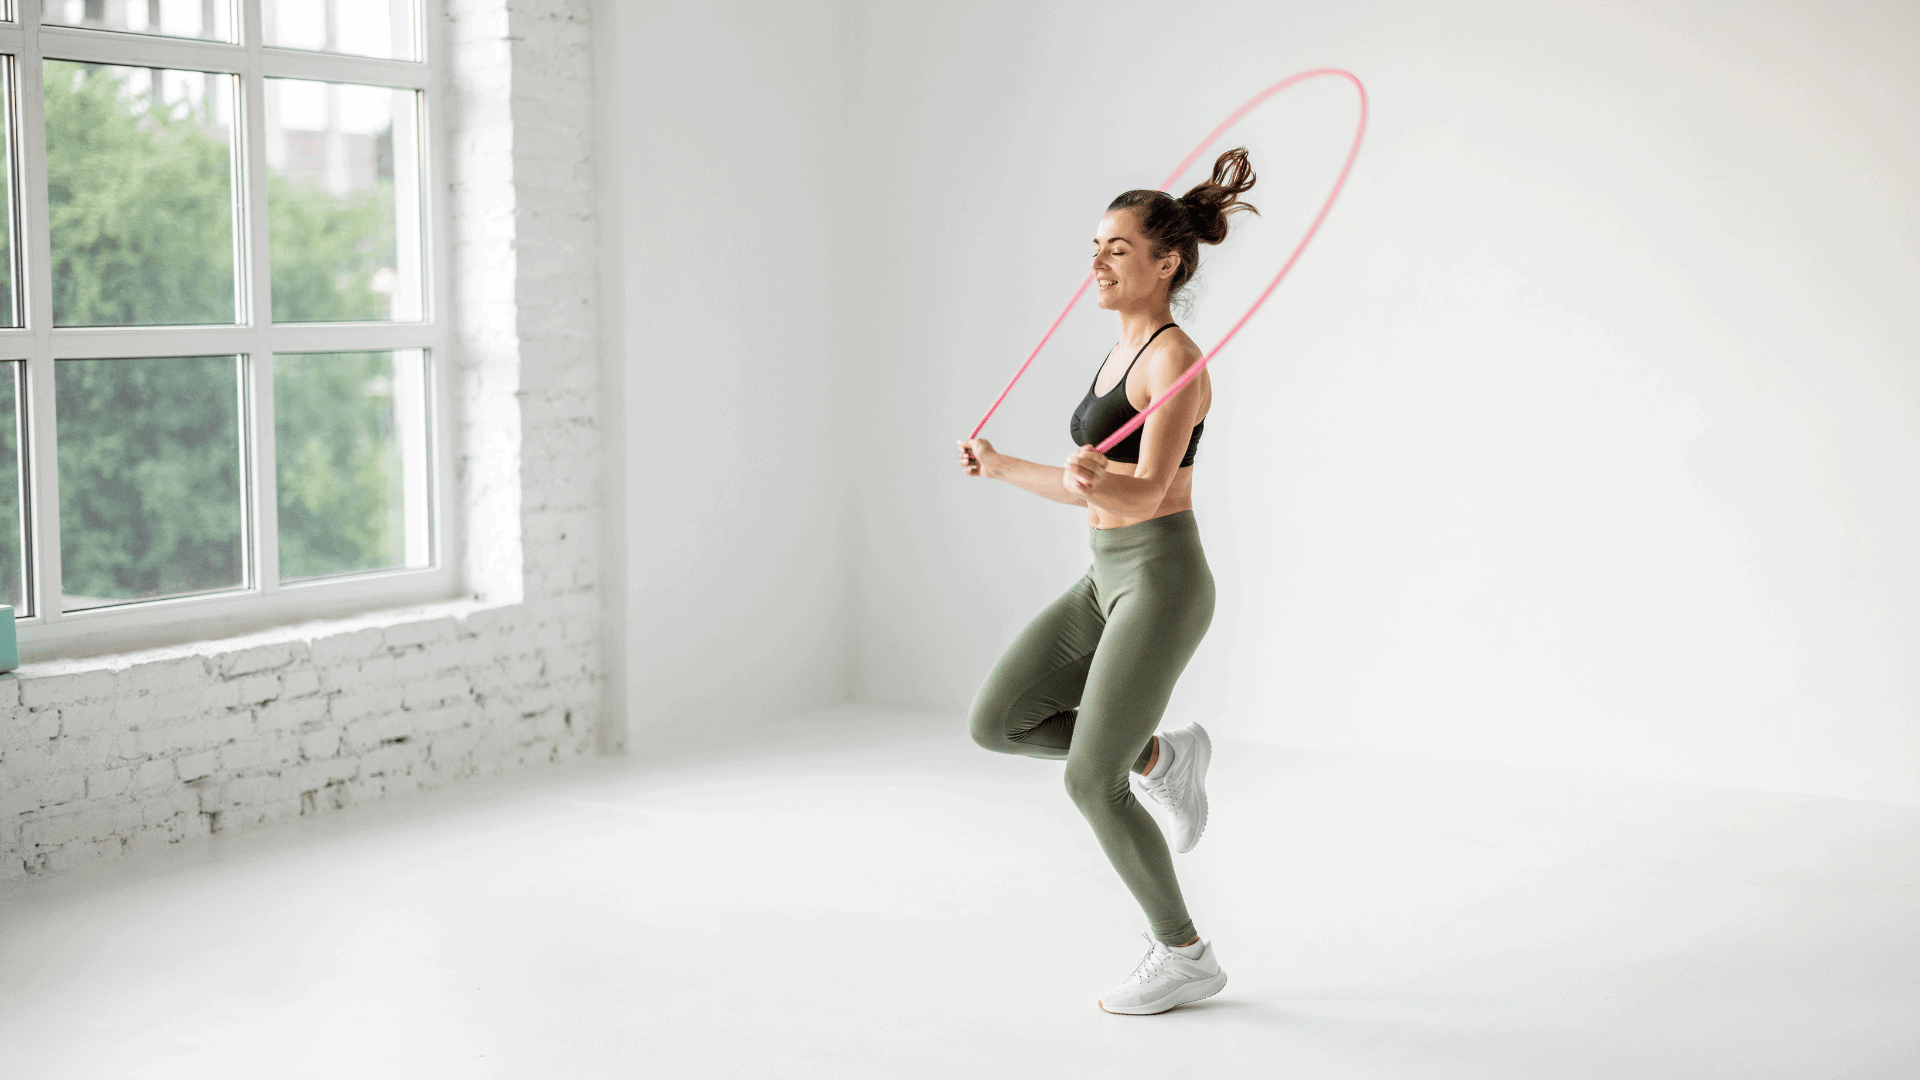
With one simple piece of equipment, you can squeeze in an effective workout almost anywhere, even in your living room.
Jump rope training is more than child’s play. It boosts your heart health, improves coordination, and helps with weight control.
Plus, the rhythm of jumping can lower stress and give you a quick mental reset. For busy folks looking to feel stronger and more energized, it’s one of the fastest and most affordable ways to stay active.
In this post, you’ll get step-by-step tips on how to size your rope, learn the right way to jump, and follow a simple routine you can keep up with.
Why Jump Rope Is a Great Beginner Workout

Jump rope may look simple, but it gives you a lot of return for the time you put in. In just a few minutes, you can get your heart rate up and work muscles from head to toe.
That makes it a smart choice when your schedule is already packed.
It also improves skills you use every day. The rhythm of jumping sharpens coordination and balance, while the steady pace builds endurance.
Over time, this combination helps you move with more energy and confidence.
Another big advantage is the cost. You don’t need a gym membership, machines, or even much space. A rope and a pair of sneakers are enough.
You can take it outside, do it in your living room, or pack it in your bag when you travel.
For women who are short on time but want a workout that covers cardio, strength, and stress relief all at once, jumping rope is one of the easiest ways to start.
Step One: Pick the Right Rope and Setup

Before you jump into workouts, you need the right rope and a safe setup. These small details make learning smoother and help you avoid common beginner mistakes.
Check the rope length first.
Stand with one foot in the center of the rope. Pull the handles straight up toward your chest. They should reach somewhere between your chest and your armpits.
If the rope is longer, it will drag and trip you. If it’s shorter, your feet won’t clear it. Adjust until it feels just right.
Consider using a slightly weighted rope.
A rope with a little weight (around half a pound) gives you better feedback. It swings slower, which makes it easier to find your rhythm.
Many beginners find they trip less often because they can “feel” the rope move around their body.
Wear the right shoes and choose the right surface.
Supportive sneakers protect your arches and absorb impact. Avoid flat or flimsy shoes.
As for the floor, go for something forgiving. A wood floor, exercise mat, or even grass works. Concrete is too hard and can leave your legs sore.
Set your arms and wrists correctly.
Hold the handles lightly at your sides with your elbows tucked close to your ribs. Your wrists,not your arms, should turn the rope.
This keeps your movement small and efficient. Flailing arms will only wear you out and make timing harder.
When you have the rope sized, the shoes laced, and your arms in position, you’re ready to start. The right setup makes jumping easier, smoother, and much more fun.
Step Two: Warm Up Before You Jump

Jumping rope puts quick stress on your ankles, calves, and wrists. A short warm-up wakes up these joints and muscles so they’re ready to move.
Just 3 to 5 minutes is enough to lower your risk of shin pain and keep your jumps smoother.
Start with ankle rolls.
Stand tall and lift one foot slightly off the floor. Rotate your ankle in slow circles, 10 times in each direction. Switch to the other foot.
This loosens the small joints that take the most impact when you land.
Next, roll out your wrists.
Hold your arms in front of you and slowly circle your wrists 10 times in each direction. A jump rope spins from the wrists, not the shoulders, so this step helps prevent stiffness later.
Add marching in place.
Lift one knee at a time as if you’re walking but stay in one spot. Do this for 30 to 60 seconds. It warms your legs and gets your heart rate moving without strain.
Finish with light jumping jacks.
Keep them small and controlled, just enough to bring blood flow to your whole body. Do 10 to 15 reps.
By the end, your joints should feel looser and your body a little warmer. This short prep routine is simple, but it makes a big difference once you start jumping.
Step Three: Learn the Basic Jump

Every skill starts with the basics, and jump rope is no different. Before you move on to quick tricks or variations, you need to master the simple two-foot jump.
This move is the foundation. Once it feels natural, every other jump will come easier.
Start with your posture.
Stand tall with your chest lifted and your eyes looking forward. Keep your core gently tight, like you’re bracing before a sneeze. Relax your shoulders so you don’t waste energy by tensing up.
Keep your jump small.
You only need to leave the ground by about an inch. That’s just enough for the rope to clear under your feet. The smaller your jump, the longer you’ll last without tiring out too quickly.
Land softly.
As the rope passes, land on the balls of your feet, not your heels. Keep your knees slightly bent to absorb impact. This soft landing saves your ankles and knees from unnecessary stress.
Use your wrists, not your arms.
Hold the handles lightly and keep your elbows tucked near your ribs. The rope should move because of quick circles from your wrists.
If you swing from your shoulders or flare your arms out, the rope will slow down and tangle.
Practice rhythm first.
Don’t worry about speed. Start slow, aiming for a steady beat, one jump for each rope turn. In the beginning, you might add an extra hop between turns. That’s normal.
Over time, try to cut out the extra bounce and move toward one jump per swing.
Stick with this basic jump until it feels smooth and natural. Once you’re comfortable, you’ll be ready to try fun variations that challenge your coordination without overwhelming you.
Step Four: Try Beginner-Friendly Variations

Once you feel steady with the basic two-foot jump, it’s time to add variety. These simple moves keep your workouts from getting boring and challenge different muscles.
Start slow, pick one variation at a time, and practice until it feels smooth.
Alternating Foot Step (Like Jogging)
Instead of jumping with both feet together, hop lightly from one foot to the other, like you’re jogging in place. The rope should pass under one foot at a time. Keep your steps small and even.
This move is easier on your legs because one foot always stays close to the ground.
High-Knee Jumps
From the jogging step, try lifting your knees higher toward your chest, one at a time. Bring them up to about hip height if you can. Keep your core tight so your body stays balanced.
]This variation raises your heart rate quickly and adds extra work for your abs.
Side-to-Side “Ski” Jumps
To do this, you can start with both feet together. And as the rope comes around, hop side to side as if you’re skiing down a small hill. Keep the jumps small, just a few inches each way. Then your feet should land softly, and your knees should stay bent.
This move works your inner thighs and improves agility.
Jack Jumps (Like Jumping Jacks)
Begin with your feet together. On the next rope turn, jump your feet out wide. On the following turn, bring them back in. Keep your arms steady at your sides so the rope keeps moving smoothly.
This variation works your legs and mimics the feeling of a jumping jack.
Optional Challenges for Later
Once the basics feel easy, you can try single-leg hops, crossovers (arms cross while turning the rope), or double unders (the rope passes twice under your feet in one jump).
These are tougher, so only practice them once your rhythm and stamina are solid.
Adding these variations one at a time keeps your workouts fresh and helps you build new skills without frustration.
Step Five: Start Small With Intervals

When you’re just starting, less is more. Jump rope is high impact, and your legs need time to adjust. Short sessions done consistently will give you better results than pushing too hard on day one.
Begin With Short Sessions
Aim for about 5 to 10 minutes total, including breaks. This might not sound like much, but it’s enough to build rhythm, improve endurance, and toughen up your calves and ankles.
Try a Simple Work-and-Rest Cycle
Set a timer for 30 seconds of jumping followed by 30 seconds of rest. That’s one round. Do this for 5 to 8 rounds depending on how you feel. This stop-and-go approach lets your body recover while still giving you a solid cardio workout.
Progress at Your Own Pace
As your stamina improves, you can make small changes to keep challenging yourself:
- Jump for 45 seconds and rest for 30 seconds.
- Or keep jumping for 30 seconds but cut your rest down to 20 seconds.
- Another option is to add more rounds to your session.
Even these small adjustments will make your workout more effective without overwhelming you.
Stick to a Weekly Rhythm
Start with three sessions per week, spread out on non-consecutive days, like Monday, Wednesday, and Friday. This spacing gives your legs time to recover. Once you feel stronger, you can add a fourth or even a fifth session, but only if your joints feel good and you’re not overly sore.
Intervals make jumping rope manageable for beginners. They turn a tough workout into something structured and doable and that’s the key to building a routine that sticks.
Beginner Jump Rope Workout Example

Once you’ve learned the basics, it helps to follow a simple structure. This example routine is short, effective, and designed so a beginner can complete it without feeling overwhelmed.
Warm-Up (3 minutes)
Start by waking up your joints and muscles.
- Arm circles: Extend your arms to the sides and slowly make small circles forward for 10 reps, then backward for 10 reps.
- Ankle circles: Stand tall, lift one foot, and rotate your ankle 10 times in each direction. Switch sides.
- Slow rope swings: Hold the rope handles and swing the rope in front of you without jumping. This helps you feel the rhythm before you start.
Main Set (8–10 minutes)
Now move into the main workout.
- Jump for 30 seconds: Use the basic two-foot jump or one of the beginner variations you’ve practiced. Stay relaxed and focus on rhythm, not speed.
- Rest for 30 seconds: Put the rope down and march lightly in place to keep your legs moving.
- Repeat for 5 rounds: If you feel good, aim for 8 rounds. Adjust based on your energy and comfort.
Cool-Down (3 minutes)
Finish by bringing your heart rate down and stretching the muscles you just used.
- Calf stretch: Stand facing a wall. Step one foot back, press your heel into the ground, and hold for 20–30 seconds. Switch sides.
- Ankle mobility drill: Sit down and slowly circle each ankle 10 times.
- Gentle toe raises: Stand tall and lift your heels off the floor, balancing on your toes. Do 10–15 slow reps to release tension in your calves.
This short session covers everything: warm-up, focused work, and recovery. Over time, you can increase the number of rounds or try mixing in different jump variations to make the routine more exciting.
Sample Weekly Jump Rope Plan
Having a set plan makes it easier to stay consistent. This beginner schedule balances jump rope with recovery so your body adapts without burning out. Each session is short, focused, and easy to fit into a busy week.
Here’s a simple 7-day plan that balances jump rope, strength, and rest.
| Day | Focus | What to Do |
| Monday | Basic Jumps (8–10 min) | 5–8 rounds of 30 sec jump + 30 sec rest. Focus on rhythm, not speed. |
| Tuesday | Rest or Light Stretching | Gentle calf, ankle, and hip stretches. |
| Wednesday | Alternating Foot Intervals (10–12 min) | 6–8 rounds of 30 sec alternating steps or high knees + 30 sec rest. |
| Thursday | Strength or Core Workout | Squats, planks, and push-ups to build strength for better jumps. |
| Friday | Jump Rope + Bodyweight Circuit (10 min) | 30 sec fast rope + 30 sec squats/push-ups + 30 sec rest, repeat 5 rounds. |
| Saturday | Gentle Activity | Yoga, walking, or mobility work to loosen tight muscles. |
| Sunday | Full Rest | Take the day off to recover and recharge. |
What to Do When Jump Rope Feels Hard

Even with good form and practice, it’s normal to run into a few bumps when you’re starting out. The good news? Most beginner problems have simple fixes.
Tripping on the Rope
This happens to everyone in the beginning. The main causes are usually rope length and arm position. Make sure your rope handles reach your chest or armpits when you step on the middle.
Keep your elbows close to your ribs and let your wrists turn the rope in smooth circles. Slow down until you find a steady rhythm.
Foot or Ankle Pain
A little muscle soreness is expected, but sharp or ongoing pain is a warning sign. The usual culprits are hard surfaces or unsupportive shoes. Always wear cushioned sneakers and avoid concrete if you can.
Use a mat, wooden floor, or even grass to soften the impact. Shorter sessions (just a few minutes) also give your joints time to adapt.
Losing Rhythm
Many beginners add an extra hop between rope turns. While this can help at first, it can break your flow over time.
Instead, focus on one clean jump per rope turn. Count in your head or use a timer to keep a steady beat. Consistency is more important than speed.
Getting Tired Too Fast
Jump rope is intense, and it’s normal to feel winded quickly. That’s why intervals are so helpful. Work for 20–30 seconds, then rest for the same amount of time. Repeat a few rounds and stop while you still feel good.
Over time, your stamina will grow, and you’ll be able to last longer.
By spotting these common issues early, you’ll avoid frustration and keep making progress. Remember: every trip, pause, or short session still counts as practice.
Keep It Simple, Stay Consistent
Jump rope isn’t just a workout, it’s a tool you can actually fit into your busy life. You don’t need a gym, expensive gear, or a big block of time. Just a rope, a small space, and a few minutes is enough to make a difference.
In the beginning, tripping will happen. Missing your rhythm will happen. That’s part of the process. The win is not in avoiding mistakes but in showing up again and again. Consistency is what builds coordination, stamina, and confidence over time.
Even short sessions, 10 minutes, three times a week, are enough to spark change. You’ll notice your heart rate improving, your jumps feeling lighter, and your stress levels dropping.
For women juggling work, family, and everything else, that’s a realistic routine that delivers real benefits.
So grab your rope, pick a day, and start with just a few minutes. Each jump is proof that you’re moving forward, stronger, steadier, and more in control of your own fitness.
Ready to Try Your Own Plan?
 (62)")
Learning the moves is one thing, but sticking to a routine is what really builds results. That’s where having a plan you can follow makes all the difference.
To make it easier, we’ve put together a FREE Weekly Workout Schedule. It shows you exactly what to do each day, how to balance jump rope with rest, and how to keep your workouts short but effective.
This guide is beginner-friendly, easy to print or save on your phone, and designed to help you stay consistent, without guessing what to do next.
If you’ve been looking for a simple way to stay on track, this is it.
Frequently Asked Questions
1. How long should beginners jump rope?
Start with short sessions of 5 to 10 minutes. Break it into easy intervals, such as 30 seconds of jumping followed by 30 seconds of rest. This helps you build rhythm without getting too tired.
2. Can jump rope help with weight loss?
Yes. Jumping rope burns calories quickly and boosts your heart rate, which supports fat loss when paired with balanced eating. Even a few short workouts each week can make a difference.
3. Is it safe to jump rope every day?
Not at first. Beginners should start with 3 sessions per week, on non-consecutive days. Once your legs and ankles adapt, you can add a fourth or fifth session if your body feels ready.
4. What’s the best rope for beginners?
A slightly weighted rope (about half a pound) is the easiest to control. It moves slower than a speed rope and gives you better feedback, which makes learning smoother.
5. How do I stop tripping on the rope?
Check your rope length first—the handles should reach your chest or armpits when you step on the middle. Keep your elbows tucked close to your body, use your wrists to spin the rope, and practice slow, steady jumps until your rhythm improves.


