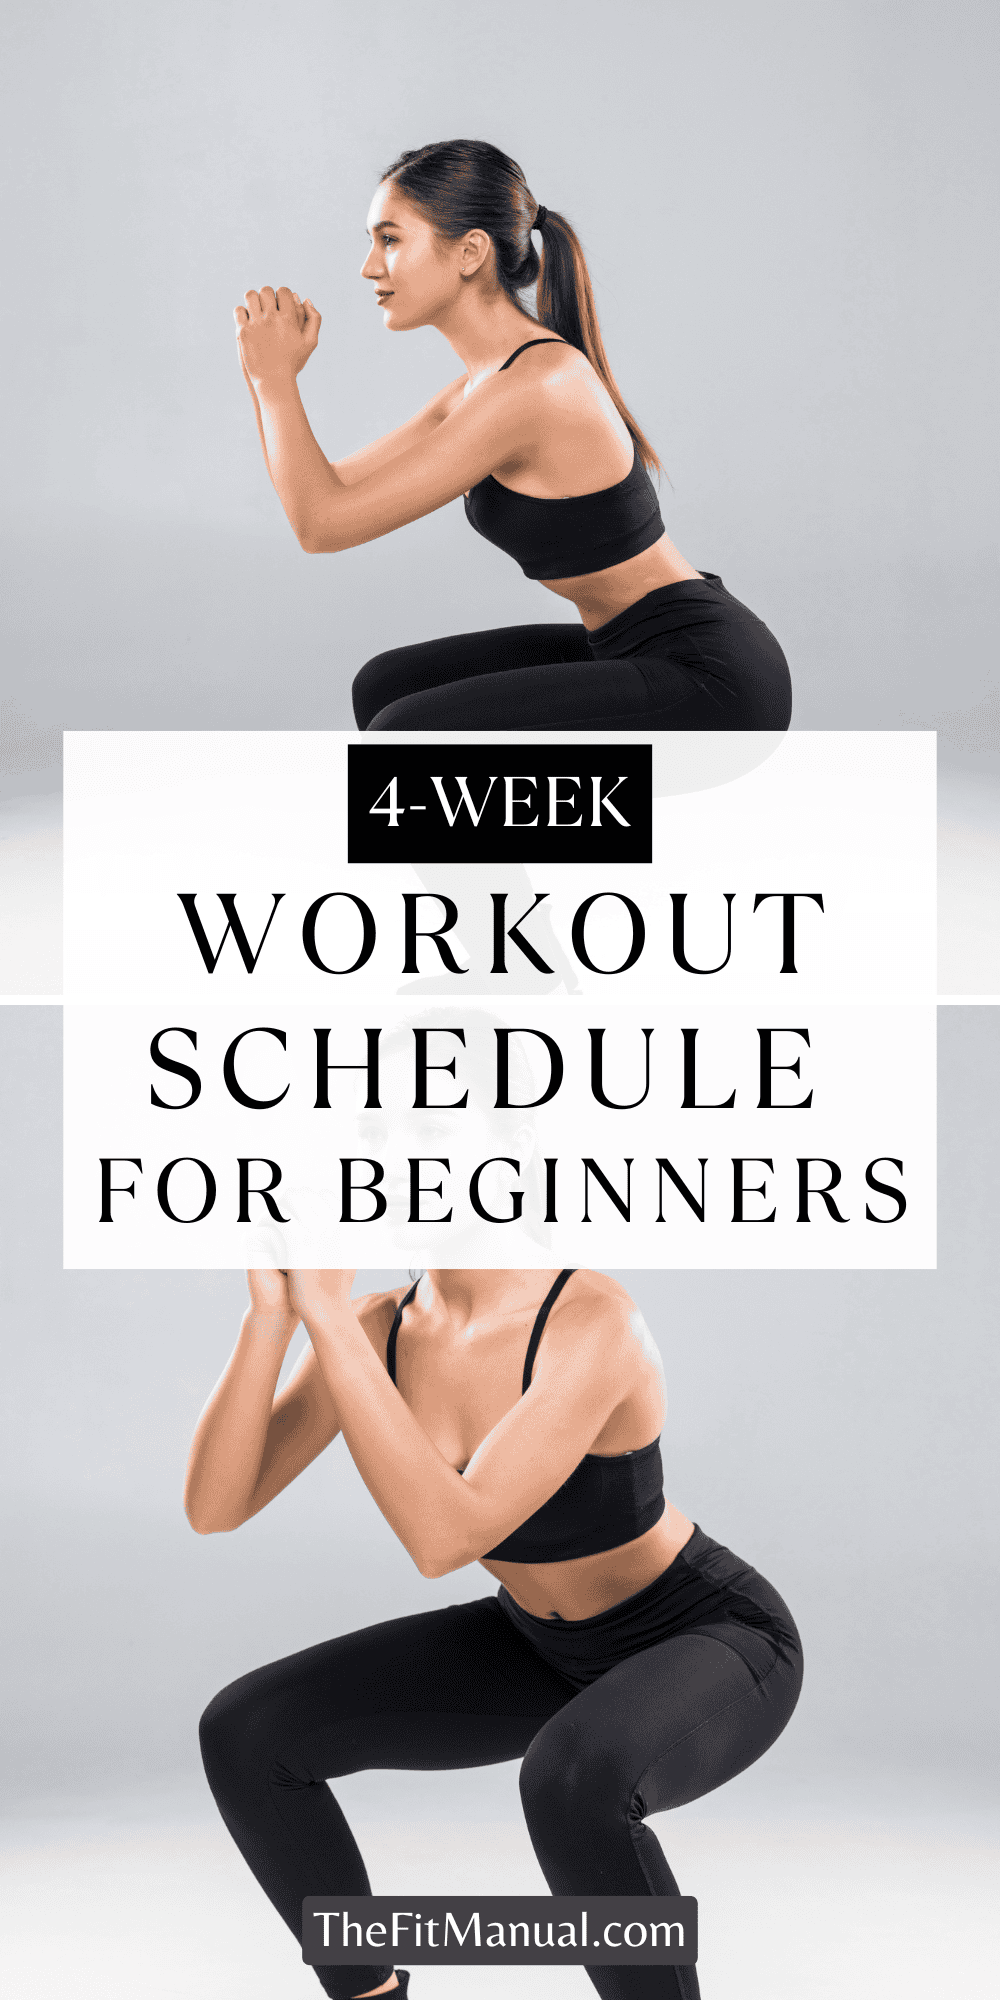
Squats are one of the best ways to build strength in your legs, glutes, and core. They use your bodyweight, don’t need equipment, and work multiple muscles all at once.
However, doing a few reps here and there isn’t enough. And without having any structure, it’s just movement not progress.
But this 4-week squats workout plan changes that.
You’ll follow a simple, step-by-step squats workout routine designed to help you move better, get stronger, and feel more stable from the ground up.
Each week builds on the last, with just enough challenge to keep you improving without burning you out.
Why Squats Work So Well in a Workout Plan

If you had to pick one move to work your whole lower body, squats would be it.
They target your glutes, quads, hamstrings, and even your core all at once. This means you’re not just training one muscle group, you’re training how your body moves as a whole.
Squats also help improve balance, posture, and joint support. When done right, they teach your body how to stay stable through your hips, knees, and ankles.
That can make everyday things like walking upstairs or lifting groceries feel easier.
And the best part? Squats are for everyone.
Whether you’re a beginner or just getting back into movement, you can scale the reps, speed, or depth to match where you’re at right now.
You don’t need a gym. You don’t need equipment. You just need your body and a little bit of space.
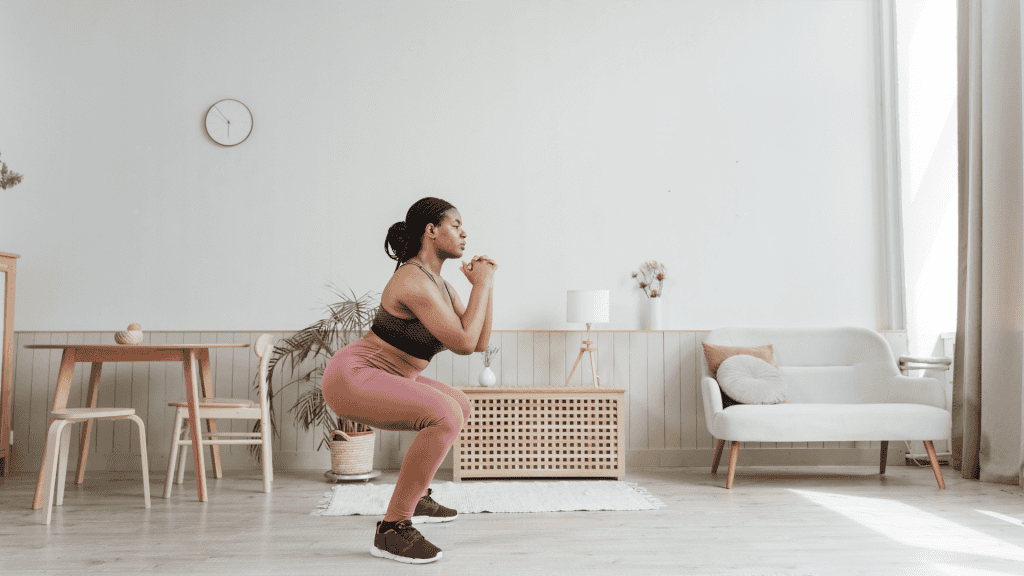
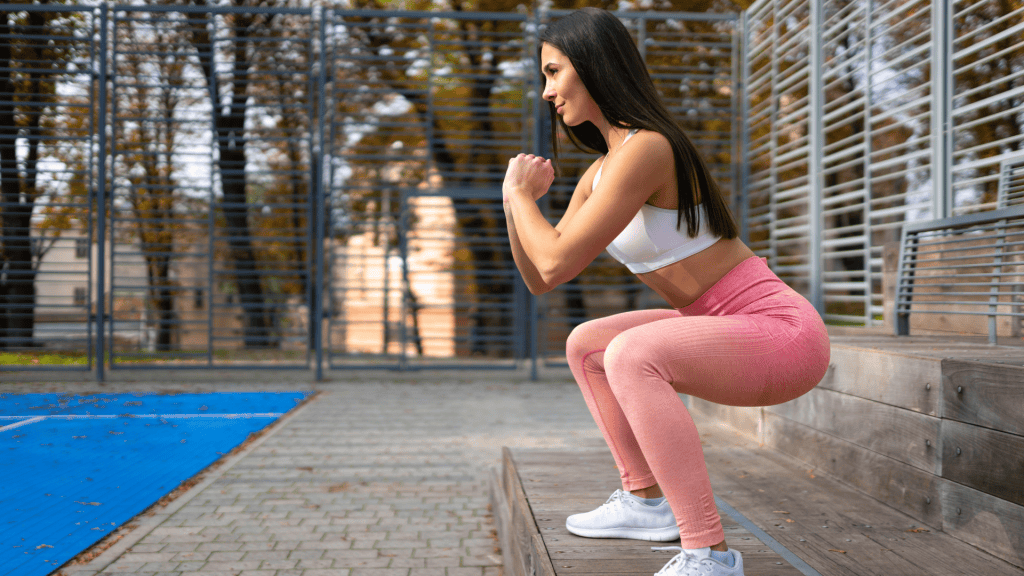
How to Do a Proper Squat
Before starting your workout plan, it’s important to get your form right. Squats are simple, but doing them with sloppy technique can lead to discomfort or just make them less effective.
Here’s how to break it down, step by step.
1. Set Your Feet
Stand with your feet a little wider than your hips. Turn your toes out slightly about 10 to 15 degrees. This small angle gives your hips more room to move and helps your knees track in the right direction.
Your feet should feel grounded heels, toes, and the ball of your foot all touching the floor. Think of each foot like a tripod.
That’s your base.
2. Brace Your Core

Take a deep breath in and gently tighten your core, like you’re zipping up a pair of jeans or bracing for a soft punch to the stomach.
This creates tension through your midsection and protects your spine. It’s the difference between just moving and moving with control.
Keep your chest lifted but not flared. Your ribs and hips should stay aligned.
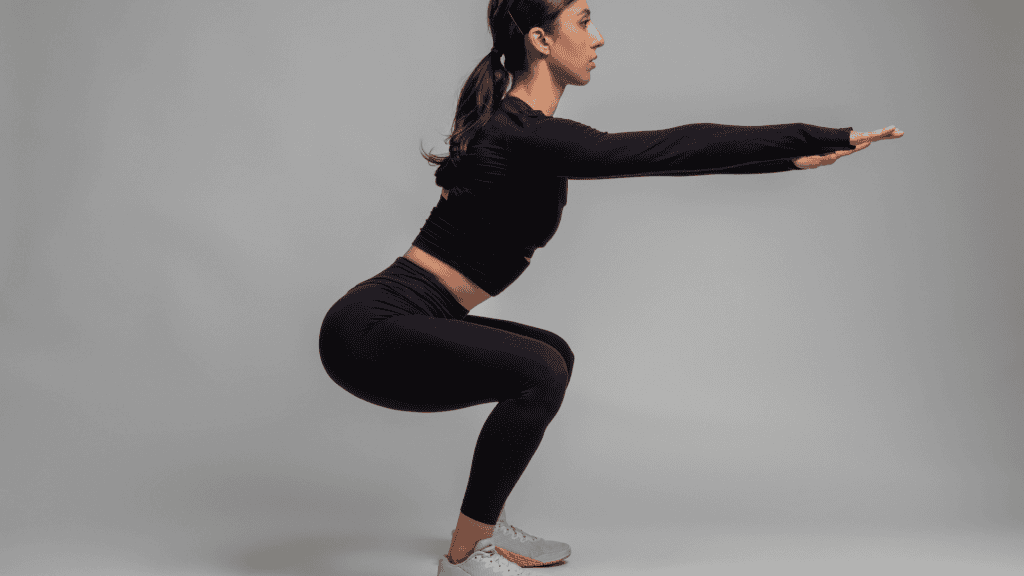
3. Push Your Hips Back
Start the movement by pushing your hips back as if you’re trying to sit down on a chair just behind you. Let your hips lead the way.
If your knees bend first, you’ll likely tip forward or lose balance. Leading with your hips keeps your weight centered and your form solid.
4. Keep Knees in Line
As you squat down, your knees should follow the path of your toes not collapse inward or push too far out.
If your knees cave in, it puts stress on your joints and takes the work away from the muscles you’re trying to train.
Think about gently pressing your knees outward as you move. You should feel your glutes helping out too.
5. Find Your Depth
Lower yourself as far as you can go while keeping your heels flat, your back straight, and your chest up.
For most people, that’s around parallel when your thighs are level with the floor. If your heels start to lift or your torso falls forward, you’ve gone too far.
Only go as deep as you can while keeping good form. Depth will come with practice and mobility.
6. Stand Tall to Finish
To stand back up, press through the middle of your feet heels and toes working together.
Keep your chest tall and your core tight. As you rise, squeeze your glutes gently at the top, but don’t thrust your hips forward or lean back.
Finish in the same position you started balanced, upright, and ready for the next rep.
Take your time. Practice a few reps in front of a mirror or with a friend watching. Once this feels natural, you’ll get a lot more out of every squat in your workout plan.
The Ultimate 4-Week Squats Workout Plan
This plan is built to keep things simple, progressive, and sustainable. You’ll train four days a week, rest twice, and use one day for optional recovery like stretching or walking.
Each workout is short, about 10 to 15 minutes but when done consistently, it can lead to better form, stronger legs, and more stability in your day-to-day movement.
Before each workout, do this short warm-up:
- 30 seconds hip circles
- 30 seconds ankle rolls
- 10 bodyweight good mornings
After your workout, cool down with light stretches for your quads, hamstrings, and calves.
| Week | Focus | Workout Details | What to Expect |
| Week 1 | Form + Habit | • 3 sets of 10 bodyweight squats• 4 workout days• Rest 60 sec between sets | Learn the movement and focus on form. This week sets your foundation to go slow and stay balanced. |
| Week 2 | Volume + Control | • 3 sets of 15 bodyweight squats• Add a 2-second pause at the bottom | You’ll start to feel more confident. The pause helps you build strength and stay in control. |
| Week 3 | Tempo + Tension | • 3 sets of 8 reps with 3–2–1 tempo(3 sec down, 2 sec hold, 1 sec up) | These slower reps build muscle awareness. You’ll feel every part of the movement and that’s the point. |
| Week 4 | Power + Progress | • 3 sets of 10 reps• Choose goblet squats (add weight) or jump squats (no weight) | Time to level up. Add a challenge that matches your pace. Go for strength or speed both build power. |
- Weekly layout: Aim for 4 squat-focused workout days, 2 rest days, and 1 optional active recovery day.
- Optional recovery activities: Stretch, go for a walk, or do light mobility drills. Nothing fancy, just movement that feels good.
Stick with the pace that works for your body. You don’t have to “push through” to make progress. Consistency wins every time.
Variations You’ll Use in This Plan
Each squat in this plan has a purpose. Whether you’re just learning the movement or adding a new challenge, these variations help you progress in a way that feels manageable but still effective.
Here’s a quick breakdown of the squats you’ll be doing and why they matter:
| Squat Type | Purpose |
| Bodyweight Squat | Build your base. Helps you learn form, control, and balance without distractions. |
| Pause Squat | Teaches you to hold steady at the bottom. Builds control and muscle endurance. |
| Tempo Squat | Slows everything down. The longer time under tension strengthens every phase of the movement. |
| Goblet Squat | Adds light resistance in a safe, front-loaded position. Great for posture and stability. |
| Jump Squat | Boosts power, speed, and coordination. Adds intensity without needing extra weight. |
You don’t need to master them all at once. Each one shows up at the right time in the plan so you’ll build skill and confidence step by step.
Common Squat Mistakes to Avoid
When you’re learning how to squat, a few things can easily go off without you even noticing.
That’s normal. What matters is knowing what to watch for so you can fix it early and build solid habits from the start.
One of the most common mistakes is letting your heels lift off the floor. This usually means your weight is too far forward, which can mess with your balance and put stress on your knees.
The fix?
Move your weight slightly back and keep your full foot pressed into the ground especially your heels.
Another issue is knees caving inward during the descent. This often happens when your glutes aren’t firing or your stance is too narrow.
Instead of forcing your knees out, try this: as you squat down, imagine spreading the floor apart with your feet. That cue helps your knees stay in line with your toes.
Then there’s the mistake of going too low too soon. Deep squats aren’t bad but only if your form stays strong.
If your heels lift, your back rounds, or your chest drops at the bottom, you’ve gone past your safe range. Stay at a depth where your form feels solid.
You can always go lower later as your strength and mobility improve.
Speaking of your chest letting it fall forward is another red flag. This often happens when your core isn’t braced or your upper back is relaxed.
Keep your chest lifted and your spine neutral. A simple trick: look slightly ahead (not up or down) to help keep your torso upright.
Finally, it’s easy to rush or bounce at the bottom of the squat, especially when you’re tired or trying to get through a set fast. But fast reps usually mean sloppy reps.
Take your time. Move with control. Pause briefly at the bottom if you need to, then drive up strong.
Mistakes like these don’t mean you’re doing it wrong. They just mean you’re learning. And that’s the whole point of a plan like this so you can spot what’s off, make a small adjustment, and keep going.
Stretching and Recovery Tips

If you want your squats to feel better and get stronger over time, recovery matters just as much as the reps.
A few minutes of smart warm-up and cool-down work can help prevent soreness, protect your joints, and keep you moving well week after week.
Start each workout with a short pre-squat warm-up. This doesn’t have to be complicated.
Begin with hip circles for 30 seconds to loosen up your joints, followed by ankle rolls in both directions. Then do 10 bodyweight good mornings to wake up your hamstrings and get your hips ready to move.
These quick movements switch your muscles on and prepare your body to squat with more control.
Once your workout is done, shift into post-squat stretches. Focus on the areas that worked the hardest. (your calves, hamstrings, and quads)
A simple standing calf stretch, seated hamstring stretch, and a kneeling quad stretch (like the couch stretch) are all solid options. Hold each one for about 30 seconds per side.
Throughout the week, it also helps to sprinkle in a few mobility drills especially if your squats feel stiff or uneven.
Deep squat holds, 90/90 hip switches, and ankle dorsiflexion stretches can all improve your range of motion over time.
And if your legs feel tight or sore after a few tough sessions, consider using a foam roller once or twice a week. Roll gently over your quads, glutes, and calves. Don’t rush, go slow and breathe through it.
Stronger Movement Starts with Simpler Steps
You don’t need a complicated workout or fancy equipment to build strength.
With just a few types of squats, the right form, and a plan that makes sense, you can train your legs, glutes, and core in a way that actually feels doable.
Start where you are. Focus on good reps, not perfect ones. And let each week build naturally into the next.
Strength isn’t about how far you can push, it’s about how well you can move, stay consistent, and keep showing up.
Add Squats to a Routine That Works
 (62)")
Squats alone can build strength, but results come faster when they’re part of a structured plan.
That’s where the Free Weekly Workout Schedule helps most. It shows you how to fit squats in with other workouts so your week feels balanced and effective.
You’ll train smarter, not just harder — and see progress you can actually stick to.
Frequently Asked Questions
1. Can I do squats every day?
You could but it’s not necessary. Squatting every day might lead to overuse, especially if your form isn’t solid yet. For most people, 3 to 4 times a week is more than enough. This gives your muscles time to recover and get stronger between sessions.
2. What if I feel knee pain?
Knee pain during squats is often a form issue. Your knees might be caving in, going too far forward, or bearing too much weight. First, check your stance and make sure your heels stay down. Keep your knees in line with your toes. If pain continues, don’t push through it, scale back and move within a range that feels safe.
3. Do I need weights to see results?
Not at all. You can build strength, control, and stability using just your bodyweight, especially if you’re doing squats with good form, pauses, and tempo. Weights are helpful, but they’re not required to make progress, especially in the first few weeks.
4. How long until I notice changes?
That depends on how consistent you are, but most people start feeling stronger and more stable within 2 to 3 weeks. Visible changes might take a little longer. What you’ll notice first is better control, improved balance, and more confidence with each rep.
5. Will squats make my legs bulky?
No. Squats help shape and strengthen your legs, but they won’t make them bulky especially when you’re using bodyweight or light resistance. Getting bulky requires years of heavy lifting and a lot of specific training. Squats, done right, will make your legs feel more toned and balanced.


